
Table of Contents
This is a collaborative post.
Microgreens are tender nutrient-rich vegetable greens that are great for adding to salads, smoothies, stir-fried dishes or simply enjoyed on their own. They are easily grown at home but require careful harvesting and storage to maximize their taste and texture. Discover the best ways to harvest and store your homegrown microgreens for maximum freshness.
Timing and Preparation
Want to know how to store microgreens after harvest for maximum freshness? Get the timing right.
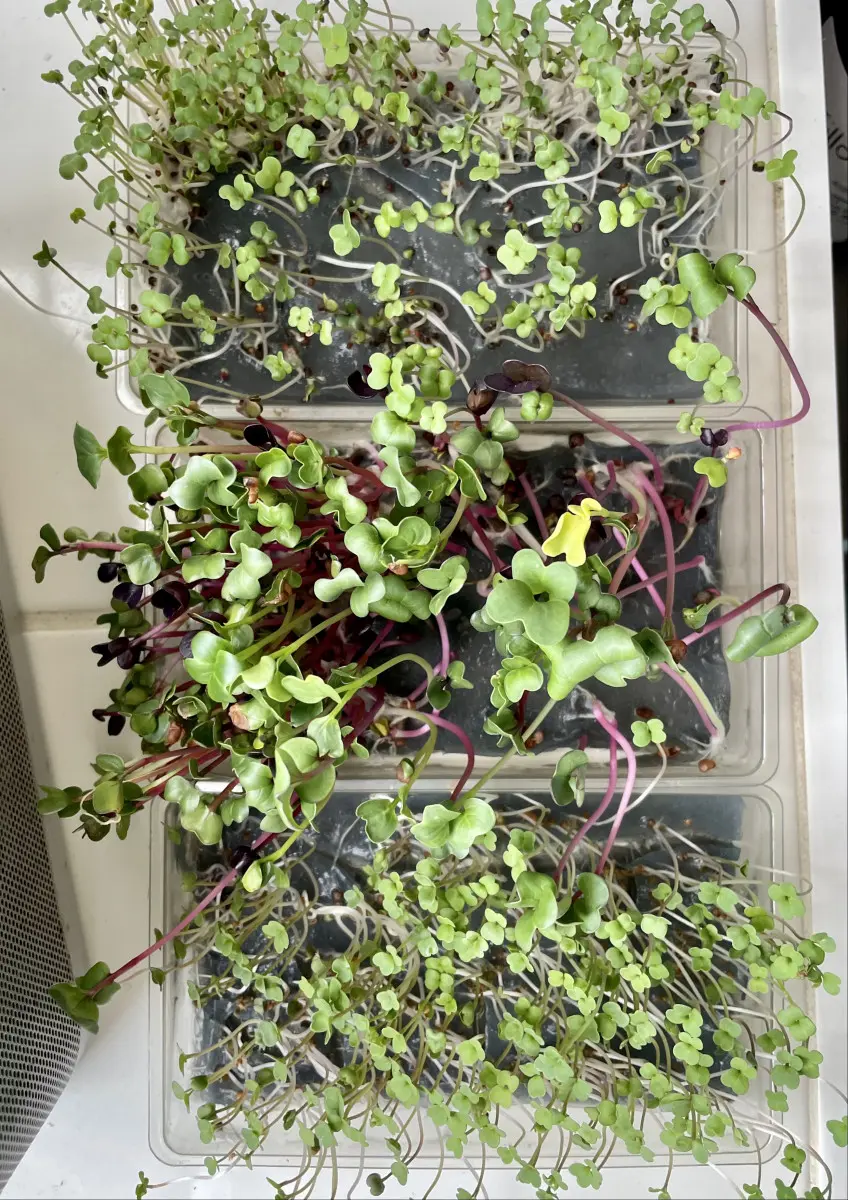
Microgreens are typically harvested between 7 to 14 days after germination when they’ve developed their first true leaves. The best time to harvest is in the early morning when the temperature is cool, and before they are exposed to bright sunlight.
Are you ready to get those microgreens out of their growing container? Not so fast. Ensure you are adequately prepared, with the following items:
- A small pair of clean, sharp scissors. If they’re too large, they’ll be cumbersome when cutting the delicate stems.
- Clean, dry tray or container for collecting the harvested microgreens. It should be large enough that the microgreens are not tightly packed.
- Pair of disposable gloves (optional). This is a further precaution against contaminants.
- Large, clean bowl for washing the microgreens. Once again, it should be roomy enough so that microgreens are not crushed in it.
- Salad spinner and paper towels (optional). This will depend on the method you use for drying your microgreens after washing.
- Clean, airtight container with a lid, for storage. It should preferably be made of glass or food-grade plastic.
Once you’ve collected everything you need, wash your hands thoroughly. Do the disposable gloves afterwards, if you have them.
Harvesting
It’s time to harvest those microgreens and start enjoying their many health benefits. Take some of the microgreens between your fingers and use the scissors to cut the stems, just above the soil line. Handle the microgreens very gently to avoid crushing or bruising them.
Place the cut greens in the collection container, and continue the process until you have harvested all of the microgreens. Discard all crushed, discolored, or wilted leaves.
Some microgreens can be regrown after harvesting. However, most can’t, and those that do often lack the flavor of first harvests. They may also contain reduced nutrient density. But if you want to try, cut the stems slightly higher when harvesting. Aim about an inch (2.54 cm) above the soil line.
Fresh is Best
Microgreens offer various health benefits, and may even help manage Type 2 diabetes. However, they are not a replacement for prescribed diabetic control solutions. That said, they offer excellent supplementary diabetes management.
You don’t need to attend a vegan fair to get your hands on fresh, tasty microgreens. They are easy to grow at home. Once you have harvested and cleaned your microgreens, they are ready to be used. If you aren’t going to use all your microgreens at once, store the rest.
Refrigeration extends their shelf life. And if you’ve harvested too many microgreens, you can even store some in the freezer. But microgreens retain a better texture, and taste better too, when enjoyed fresh.
Preparing for Storage
Even in the most sterile growing conditions, your microgreens may have attracted dust or contaminants. Wash them before consumption or storage. It is especially important to dry them well before storage.
Fill a clean, large bowl with cold water. Immerse the harvested microgreens in the water and gently move them around. Then lift them out and allow any excess water to drain off. Repeat this two to three times, using fresh water every time, until the water in the bowl remains clear.
If even the tiniest trace of moisture remains during storage, it will encourage bacteria and mold growth. Gently spin the greens in a salad spinner, and air dry. Alternatively, lay them on a clean, dry paper towel and pat them dry with another paper towel. Do so very gently. The stems and leaves bruise easily.
Storage
Take your airtight storage container, and line the bottom of it with a clean, dry paper towel. This will absorb any moisture and keep the harvested microgreens fresh. Avoid compacting the microgreens too tightly. If you must layer them in the container, place another sheet of paper towel between the layers.
Once the microgreens are in the container, ensure the lid is on tightly. This will ensure freshness and extend the shelf-life. Store your microgreens in a cool, dark place away from direct sunlight until you are ready to eat them.
To make them last longer than a day, refrigerate them. Place the container in your refrigerator’s crisper drawer, where most last 5-10 days. Microgreens should be stored at 35°F to 40°F (1.7°C to 4.4°C) for best results.