
Table of Contents
This is a collaborative post.
Every artist and craftsman deserve recognition for their work; carpenters, wood crafters and DIY fans are no exception. A branding iron is an excellent tool for this. Branding irons can add that extra touch of completing your piece. It’s easy to think of a painter signing a canvas or a photographer signing the back of a photograph, but how do you go about signing wood? If you have created a new piece of furniture or completed an upcycling project, a branding iron is the perfect tool to sign your wooden creations with your signature or logo. In this article, I will talk you through of branding irons, what are they and how to use them.
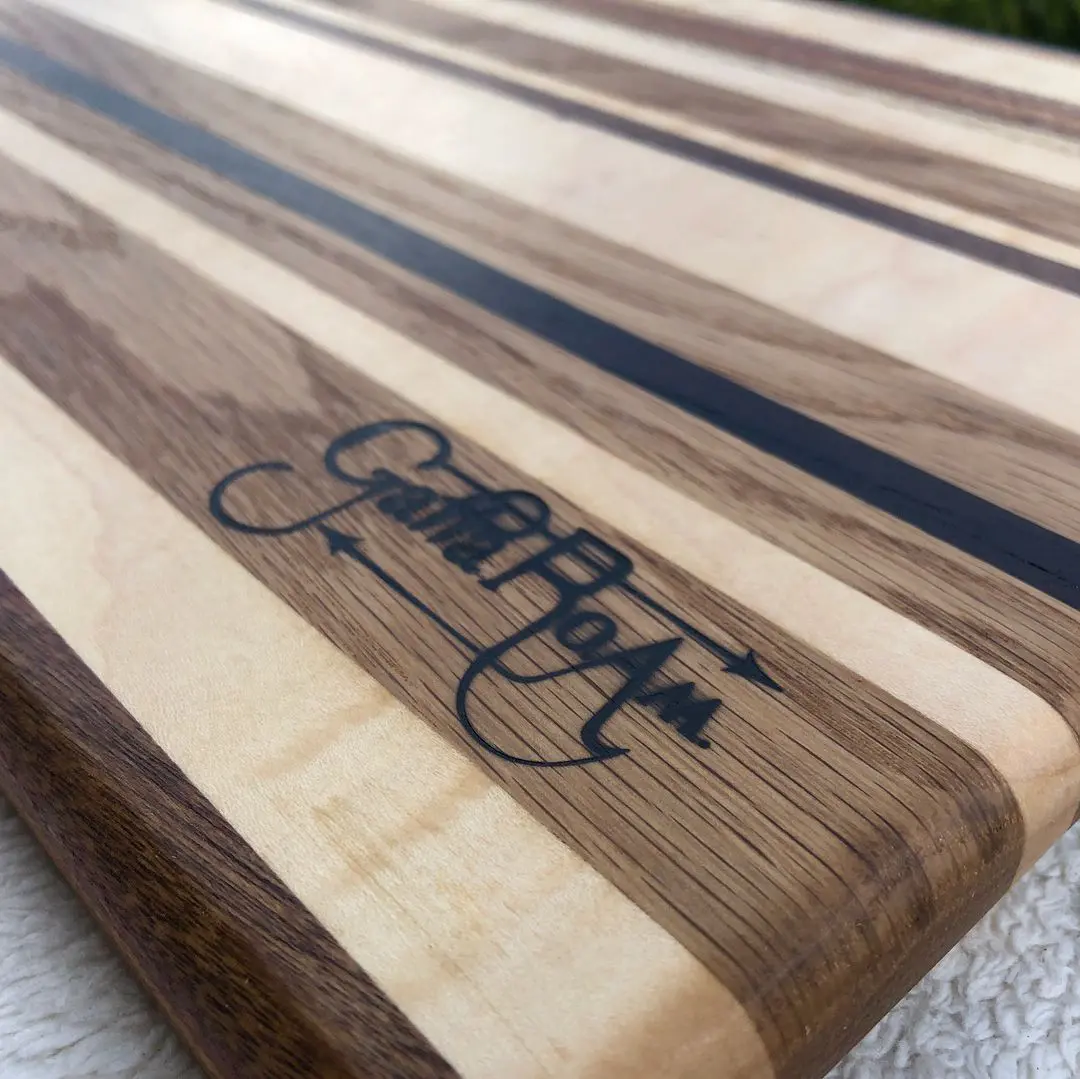
What is a Branding Iron?
Branding irons can be used on any type of wood, although the darker the wood the harder it will be to read the mark, which is good to bear in mind.
You can choose between an electric or a torch heated branding iron, and the first step is to design your very own logo or signature for the plate.
Electric Branding Iron
With an electric branding iron, it really is as simple as 1,2,3.
- Create a logo or design for your electric branding iron
- Plug it in to heat it up
- Use your branding iron to stamp your creation
Torch-heated Branding Iron
A torch-heated branding iron is more of a traditional, skilled process that takes a little longer.
You will need to use a blow torch to heat the iron evenly across the whole design before carefully stamping the wood, ensuring the burn mark doesn’t spread too far and you don’t cause yourself an injury.
A torch-heated machine will last longer than an electric one, and if you are after an eco-friendly option that truly puts “craft” into craftsmanship then a torch-heated iron is for you! It takes a little longer, but if you love the process then this shouldn’t stop you.
How Difficult is to Use a Branding Iron?
The difficulty primarily depends on your prior familiarity with the tool and the materials you’re working with. It’s essential to heat the branding iron to the right temperature; too hot can scorch the material, while too cool may result in an unclear mark. Practice if everything, like with most tools.
How to Use a Branding Iron Correctly?
Choose a quality branding iron
Using the wrong type can lead to inconsistent results and frustration.
Find the right temperature
Too hot, and you’ll scorch your material. Too cold, and the impression will be faint.
Apply consistent pressure
Firstly, test your iron on a scrap piece of material before using it on your product. This will help you determine the optimal temperature and pressure. Maintain a consistent temperature throughout the branding process. Inconsistent pressure can result in uneven branding. Practice your new skill before using it on your own products and make sure, that the surface you’re branding is clean and even.
Pay attention to material compatibility
Different materials react differently to heat. What works on wood may not work on leather for example. Test and research is the best way to learn about this. Be mindful of, that some materials may release harmful fumes or become damaged when heated.
Maintenance and safety
Regularly clean your branding iron to remove any residue buildup. Always wear protective gear and keep flammable materials away from your working station.
Source: https://www.gearheartindustry.com/