
Table of Contents
It’s September, so many of us left the summer vibes behind and with that throwing ourselves straight into spooky season. Even though it’s still summer till the 22nd of September, because of the hot summer the leaves are already falling and we have the rain back in the UK. It isn’t all too bad if you try to find nice things to focus on and look forward to something like October half term and Halloween – which is what you likely to do if you have children. Even if it was nice to see the back of them today at the first day at school drop off. In the past few days we didn’t do much partially because it rained and exhausted all the cinema and other indoor activities but also because the children just wanted to relax before heading back to school. Fair enough, I say. We did, however, do some mandatory reading and optional crafting. Big boy opted out and small girl opted in, so we made these DIY Sock Pumpkins in 10 Minutes – and I thought I’d share the tutorial, there will be plenty of weekends between now and Halloween to make them.
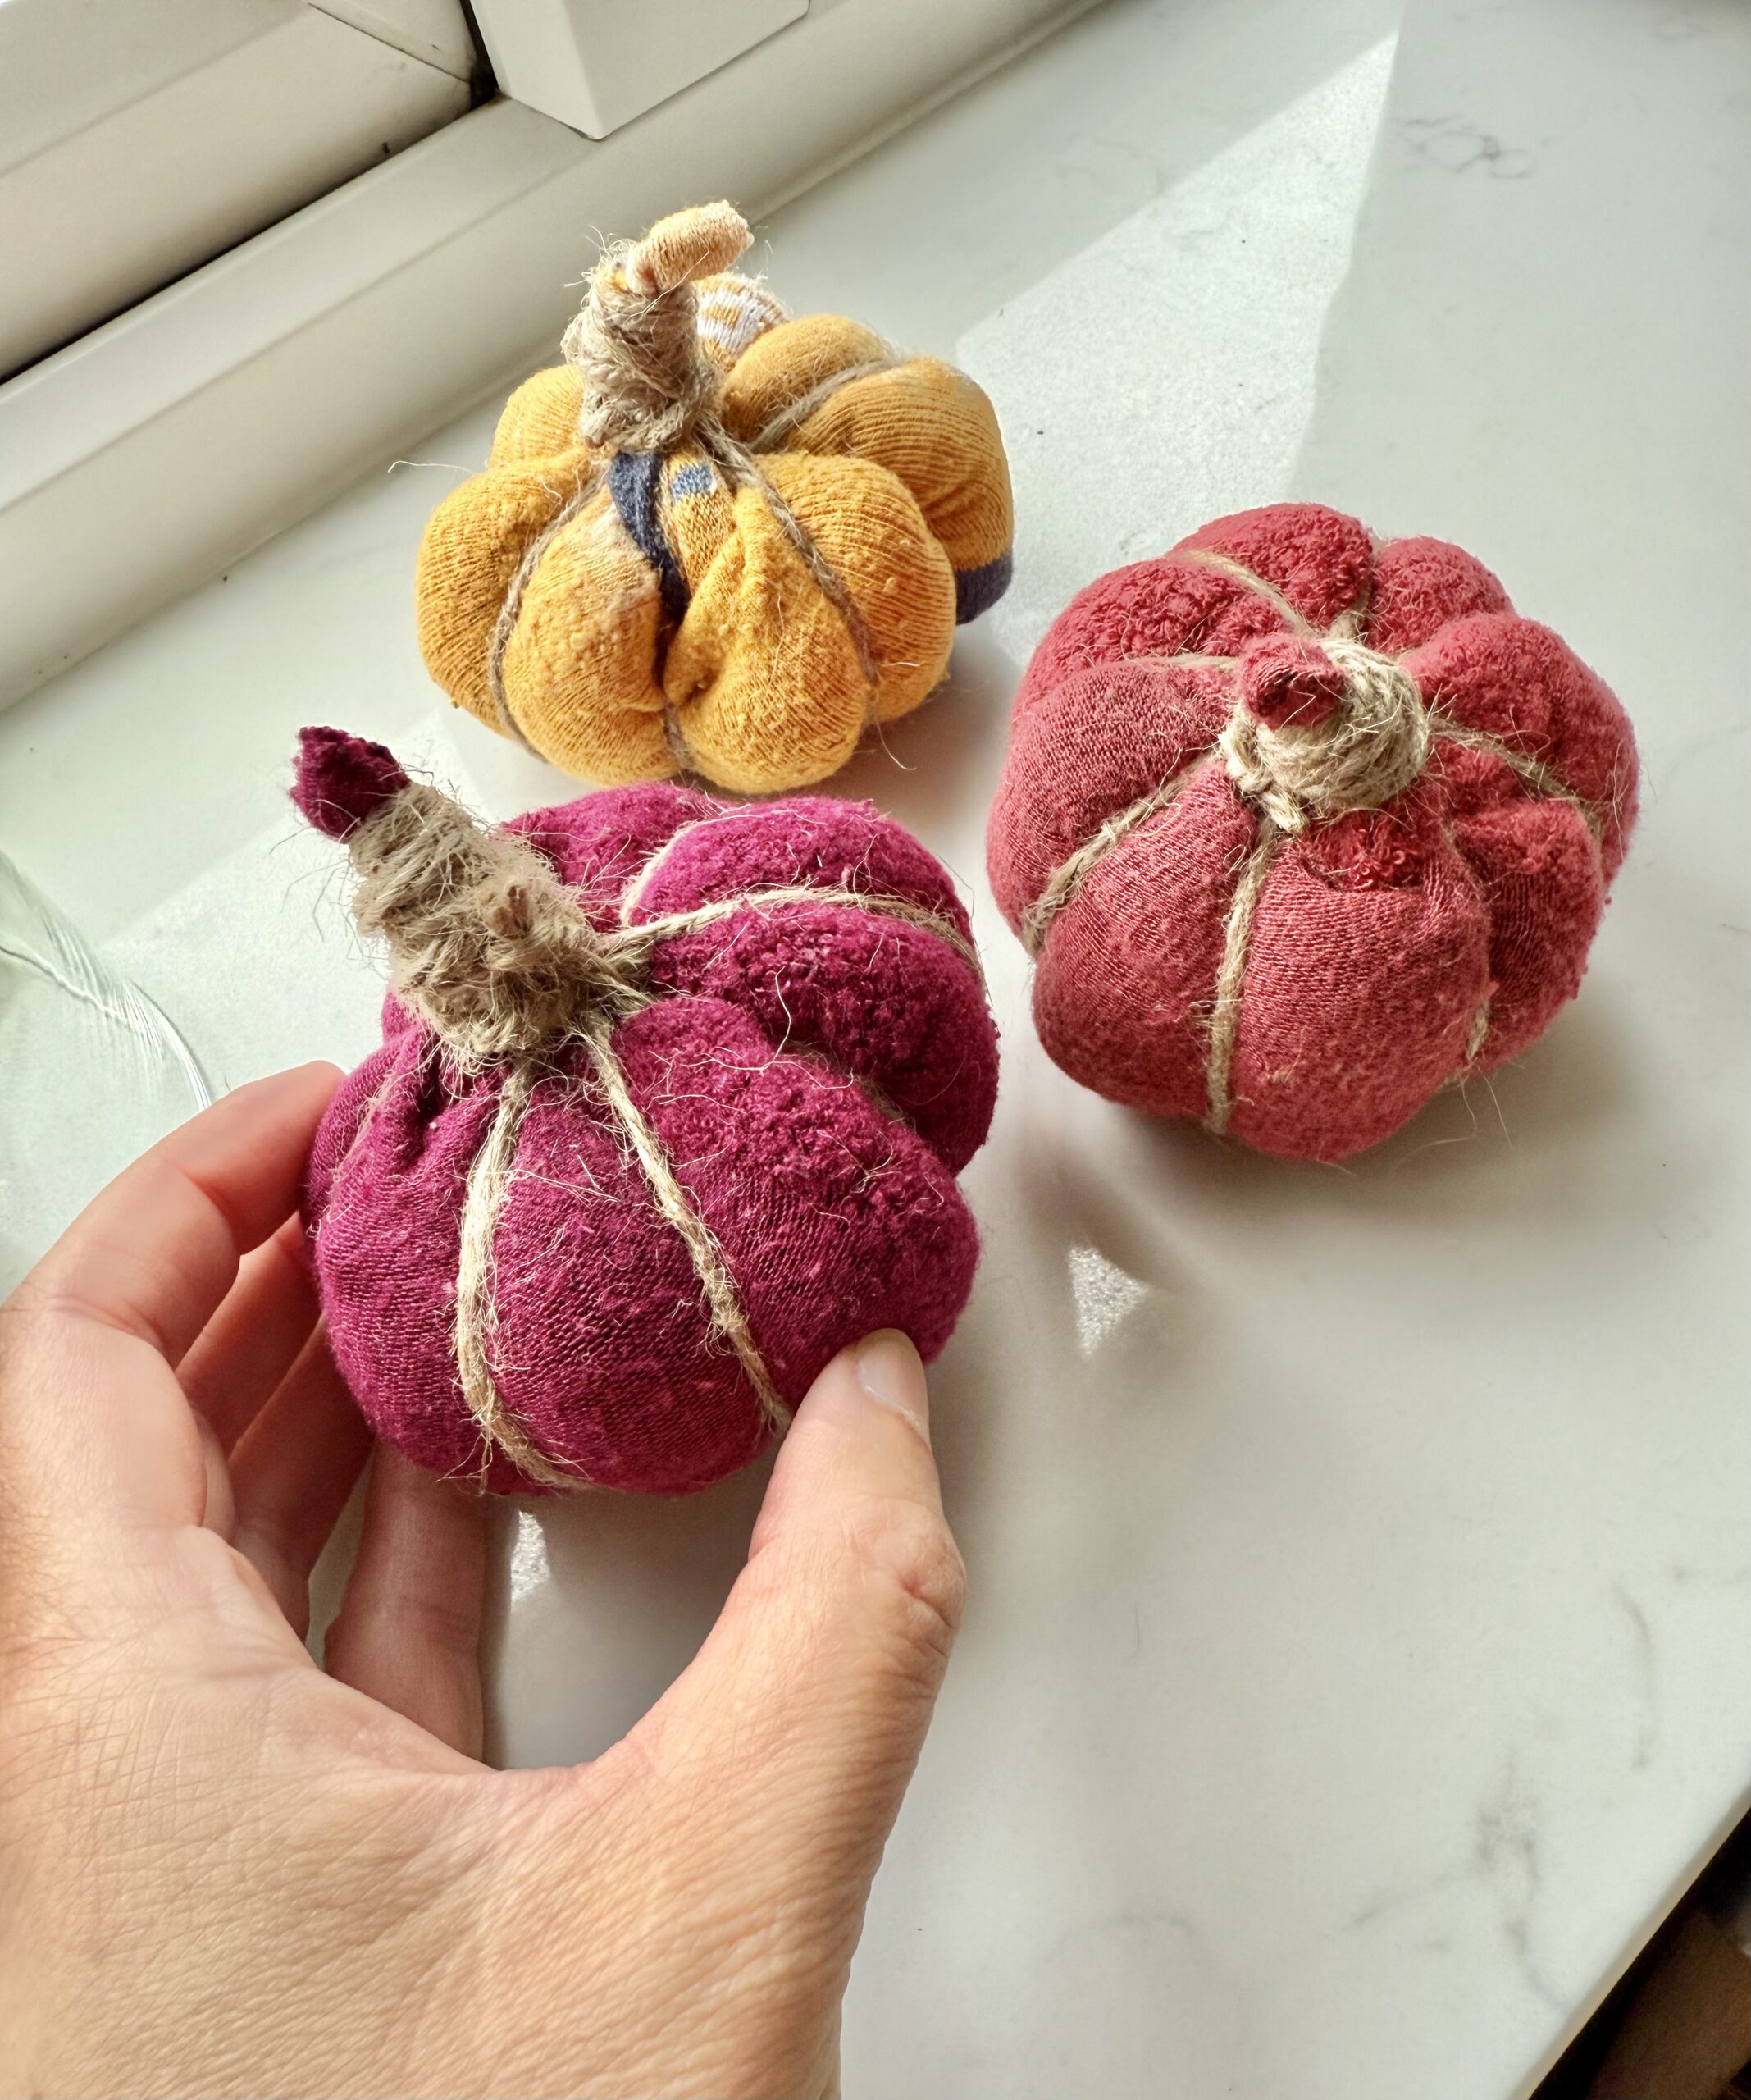
How to Make Sock Pumpkins
This 10 minute craft doesn’t require too many things. These are are incredibly easy to make and a fun activity. And the best thing about this is that it can be made with used, old socks too – like I did, upcycling them into something new and fun.
All you need is:
- Old socks in any colour that you want them or have them in – some prefer the white pumpkins out of white or cream socks or you can go colourful, like I did. These old BAM socks are made of bamboo even.
- Jute string or knitting yarn
- Anything you can fill the pumpkins with (apart from the other half of the sock as you will see below)
That’s it. No needles, glue gun, nothing at all just a pair of scissors.
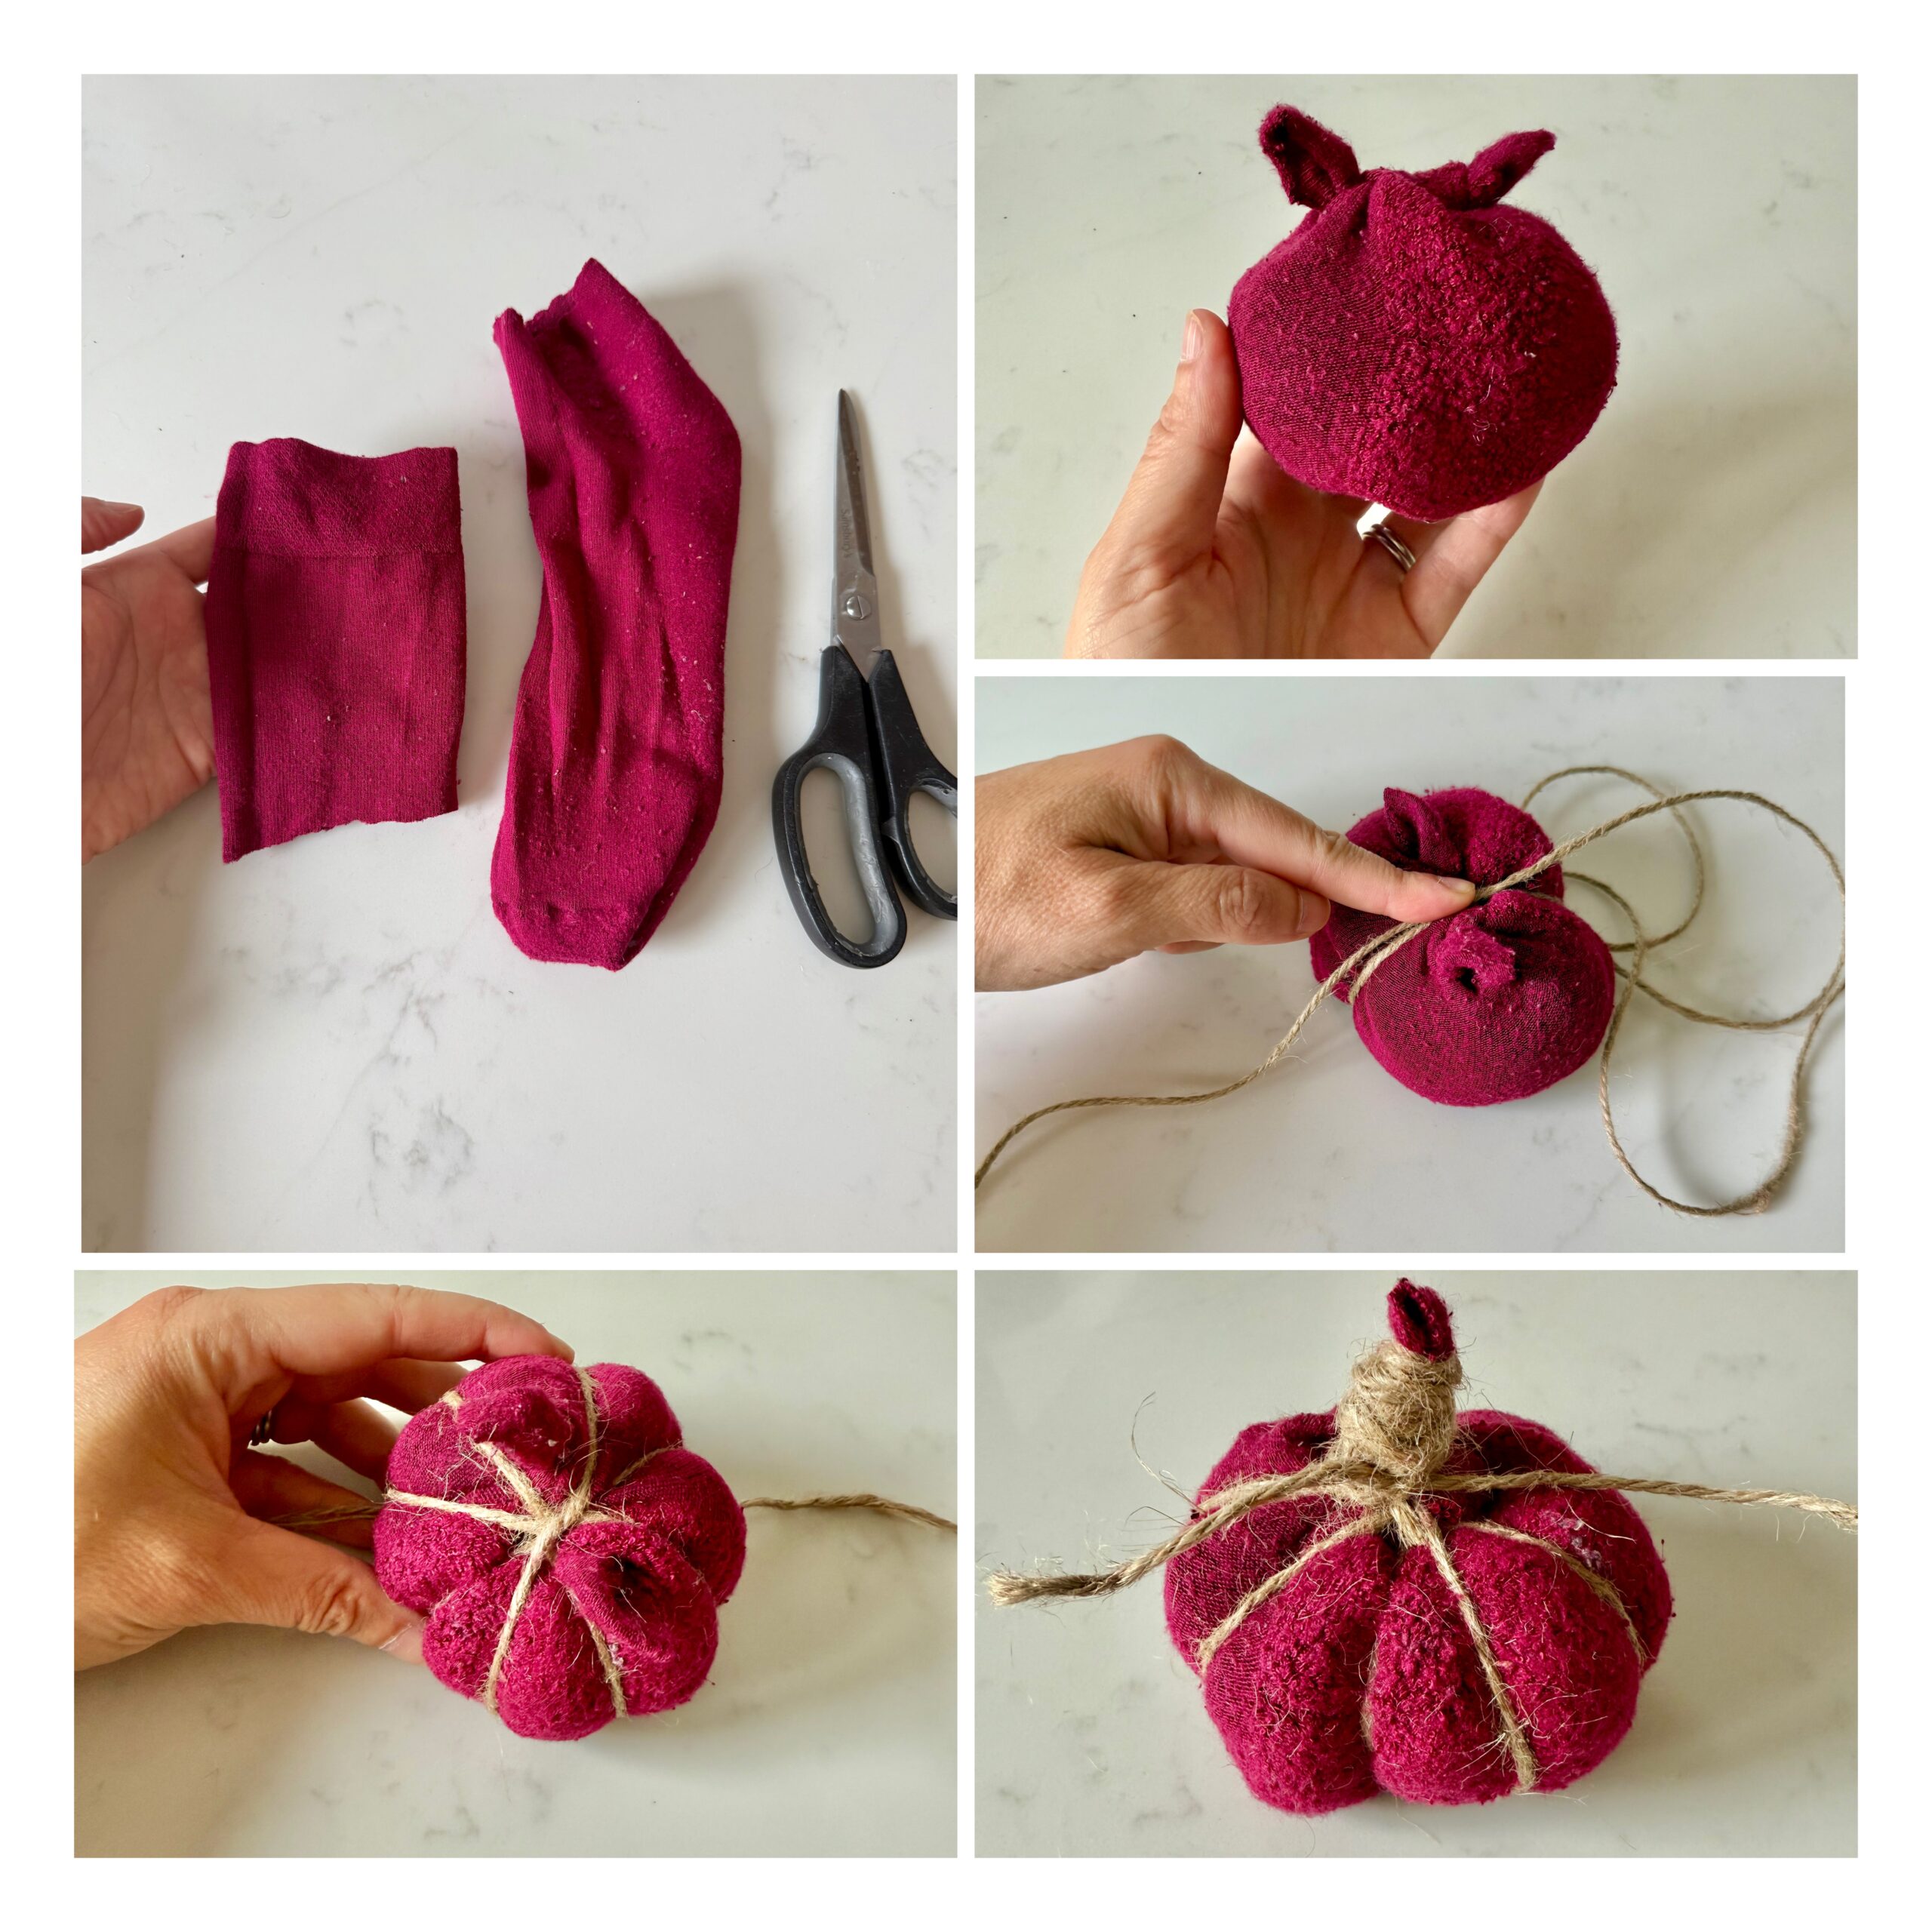
Step-by-step instructions:
The above photo collage is to support you along the way of making these DIY Sock Pumpkins in 10 Minutes.
Step 1. Cut the sock into half just above the ankle line. (I turned them inside out too) Mine had holes at the toes so I just folded it inside the sock and…
Step 2. …added the filling on the top. I used the other part of the sock as filling plus some other fluffy polyester filling I have been hoarding. Anything soft will do, you don’t need to buy extra stuffing.
Step 3. Tie off the top of the pumpkin at the top. Don’t trim the excess – that will be the stem!
Step 4. With the twine create sections, pulling tightly with each section, securing them and forming a shape pumpkin segments. Idally start at the bottom and finish at the top.
Step 5. Cut a piece of string long enough to make the stem by rolling it up and back down again along the ties, pinching them together on the top. Secure it at the bottom of the stem and cut off the excess string.
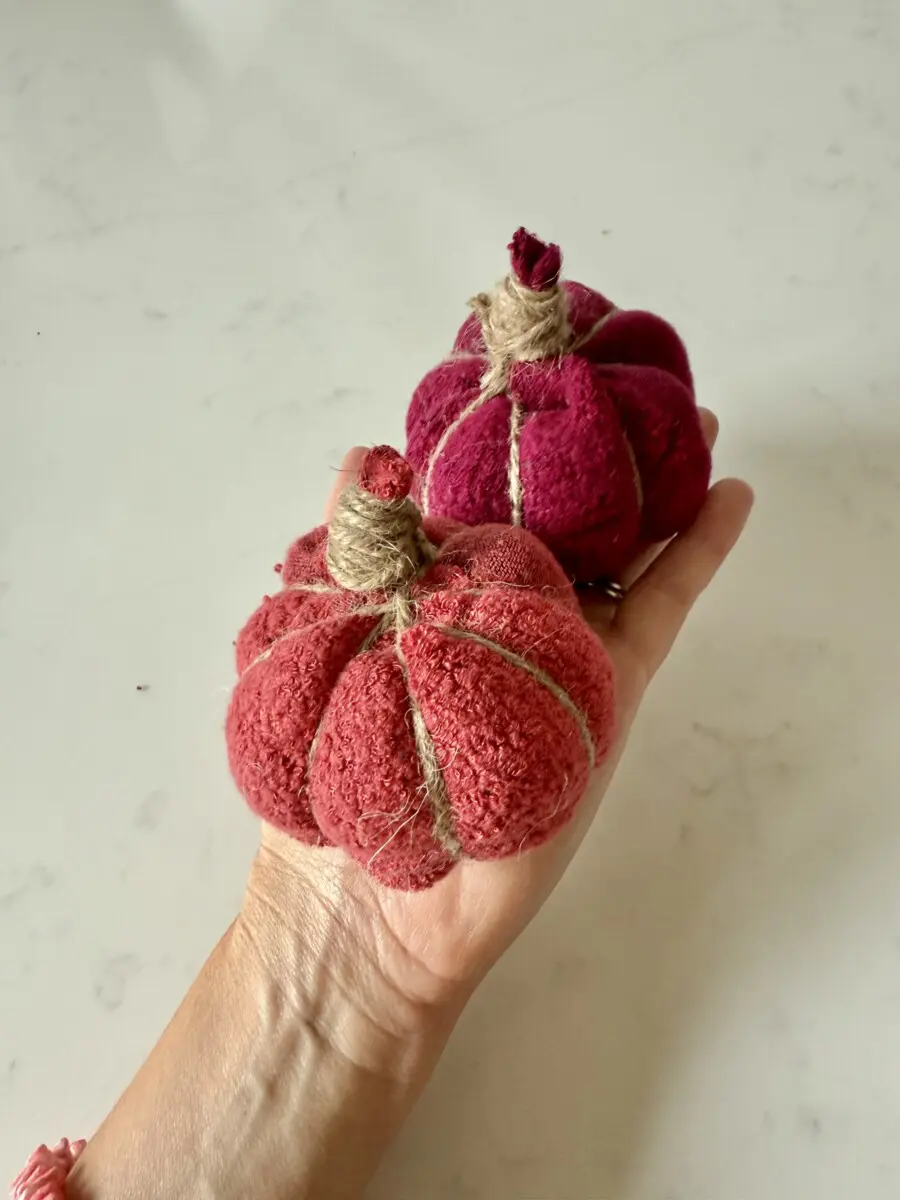
That’s it! Your sock pumpkin is ready! You can decorate with them, make as many you like and display them near candles and other autumn decoration.
Check out my other upcycling crafts and articles:
One Small Can Of Paint – Three Upcycling Projects
How to Upcycle Lampshades (No Sew!)
Design Ideas for Shirts: 4 Upcycle Ideas for Your T-shirts