
Table of Contents
Trying to decorate a wall in any room always requires planning. You have to match all wall decoration with your furniture and other art works already residing in the room. You have to decide the purpose of the wall decoration: is it to compliment the interior, is it to jazz up or is it because you want some just not sure how? This little guide will give you some ideas.
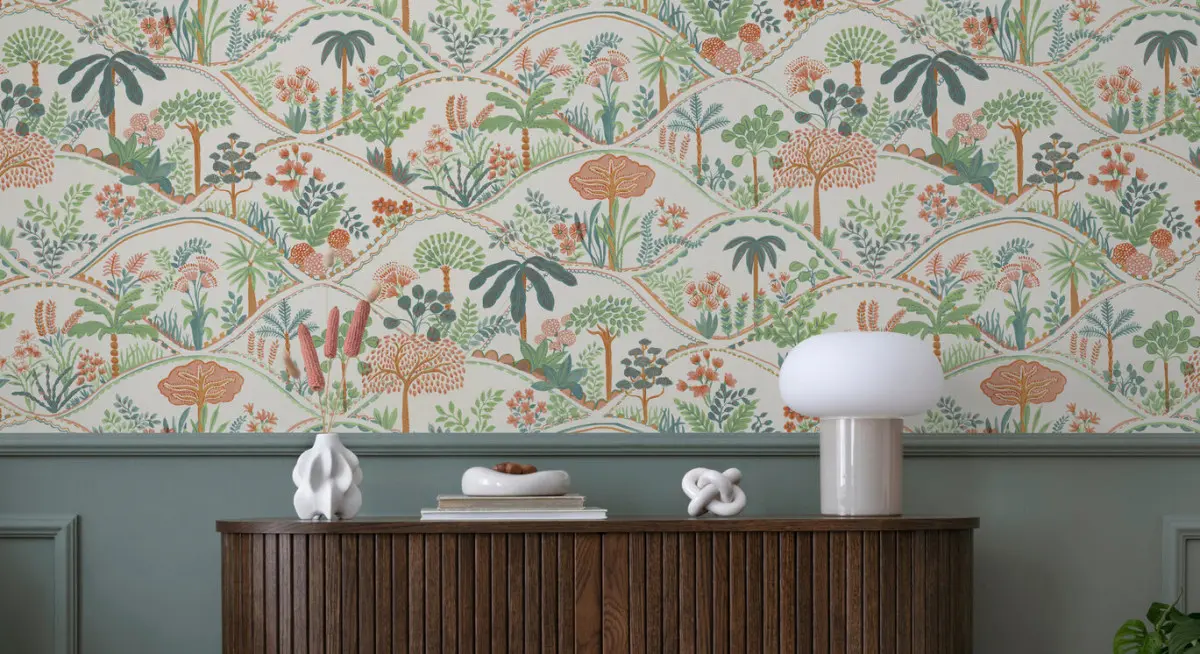
The rise of wall murals
Lately, in the past couple of years wall murals became very popular because they are easy to use, you can order them online with a click and because you can now find all sorts of images and patterns to match your room and your taste. Unlike wallpapers which most of the time only feature a few repeated motif, wall murals have one large image or pattern. This can be chosen from a large library or you can design your own using any artwork or your own photos. The possibilities are truly endless.
How are wall murals a mindful way of decorating
Firstly, it’s possible to be part of the whole design process, from choosing to application. This is a great way to make the room truly your own. And it’s possible as you will see below the step-by-step hanging guide.
Secondly, only your imagination sets the limit what you want to put on the wall. There are so many readily available designs to choose from. Alternatively, you can use your own art work or photos.
Thirdly, wall murals aren’t mass produced products. They are printed on demand, when you place an order. You can have a truly unique design that no-one else has and it’s entirely yours, not available to anyone else.
Forth way a wall mural is mindful because wall mural shops like Photowall are promoting ethical businesses and fair pricing. With your purchase you support the artist and the designer of the mural in an ethical way.
Number five: they are eco-friendly. On-demand production and not needing storage cuts emissions and the supplied water-based glues are also eco-friendly. The paper is also responsibly sourced.
Sixth – the reasons never seem to end: they are durable. Not only that but wipeable too, so when kids’ decide to add to the wall art, it can be wiped away no problem.
Finally, they are very cost effective. Not only because they are fairly priced but because you won’t have to pay someone to put them on your wall. It is a lot easier to hang compared to a traditional wallpaper! With that – let’s see the step-by-step application guide in the next part of this blog post.
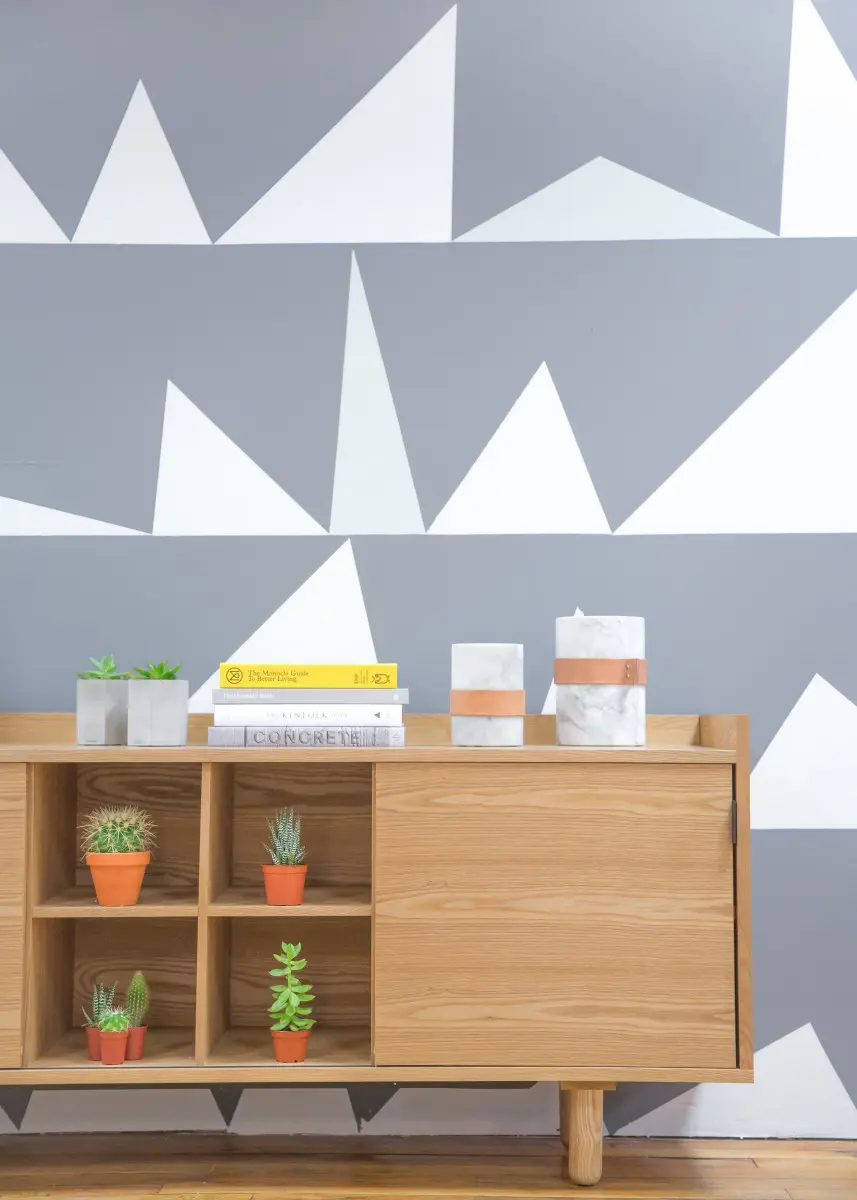
Step-by-Step Guide to Hang Wall Murals
Although, it’s really not at all difficult, I think many people might need some guidance on how to do it. I know I did, when we hung ours so I will share my tips in this guide – hopefully it will help others. Everything sounds a bit daunting when you have to do it the first time, isn’t it?
What You Will Need
- The mural you chose
- A ladder
- Spirit level
- Scissors
- A sharp knife
- A pencil
- A ruler
- A clean cloth
- Screwdriver
Step 1 – Measure up your walls correctly
Twice, just to be on the safe side. You need to do this, before placing an order for the mural. Pick the mural. When it arrives, check immediately that it’s the correct design and size.
Step 2 – Wall preparation
Check the wall over, fix crack and fill in little holes. Smooth out any uneven surfaces with a buffer tool. Then wipe it down with alcohol – not your vino but
If you have any sockets or light switches in the way – unscrew and remove them. IF you are a perfectionist, you can remove the skirting board too, but that’s optional. You can work around it.
If you need to paint or remove wallpaper beforehand, you need to calculate this time in. After a coating of fresh pain, you will need to wait about two weeks before applying the mural. With removing wallpaper it’s a little easier: just clean the wall to make sure there is no residue of adhesive.
Step 3 – Plan it out
Usually the murals are marked or numbered in what order they should be going onto the wall, so check if this is correct.
Draw guide lines onto the wall using the ruler: measure out each section’s place on the wall and with a pencil draw the vertical guiding lines onto the wall. Use the spirit level to make sure they are straight. This will help to correctly position the mural sections.
Step 4 – Hung your mural
Pick a favourite end and stick each panel on the wall using the guide lines.
The best way to start sticking a section on the wall is by peeling the back by a few inches at the top of the mural, and held the top two corners. Press these top corners onto the wall and secure them. Then slowly peel back more and more of the backing, little by little and stick it to the wall from the centre to the edges. Smooth out all the little air bubbles with a soft, clean cloth as you go.
Repeat with all panels. Keep checking by stepping back if it’s all correct and straight.
That’s all!