
Table of Contents
This is a collaborative post.
Cutting panels without a plan can leave you with awkward scraps. You’ll also waste money in the process. A few minutes of layout work can make each sheet go further. It also keeps the job site cleaner.
The goal is to see every cut before the blade touches the material. This way, you work with what you have instead of tossing good stock into the bin.
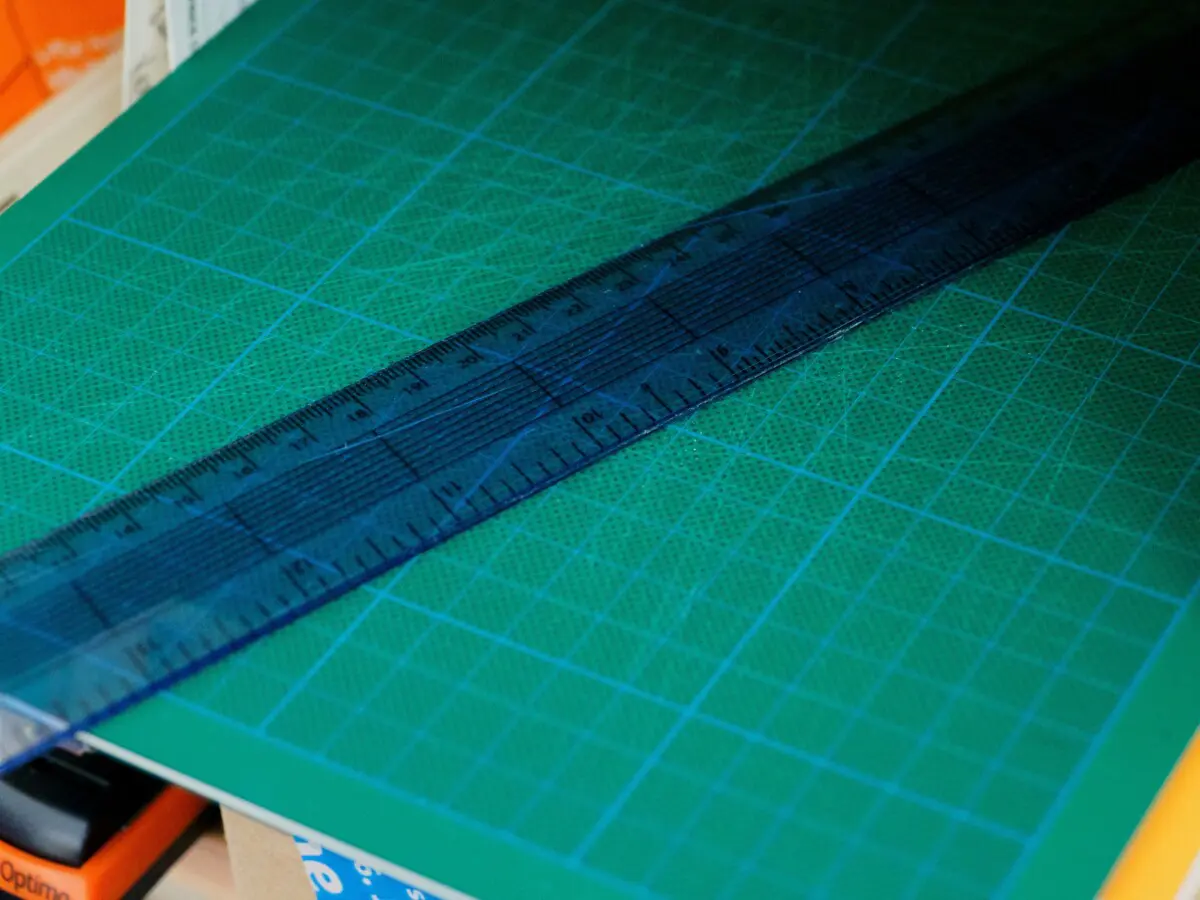
Measure Twice, Draw Once
Start by taking accurate measurements of the finished pieces you need. Small errors in measurement can double up if you cut several parts from one sheet.
Even small errors in measurement can multiply when you’re cutting several parts from one sheet.
Mark those dimensions and arrange them like puzzle pieces to see where they fit best. A rough sketch is better than guessing on the fly.
Group Similar Cuts
If several parts share the same width or height, cut them from the same section. This keeps the off-cuts uniform and easier to reuse later.
For example, when building a set of barriers, line up all the narrow strips in one row. That way, you can switch tools or change settings fewer times.
Think About the Grain and Finish
Some panels have a grain or directional texture. Others have protective film or coatings that need to face a certain way. Plan your cuts so the visible surfaces align.
A good example is recycled acrylic sheets. They have a side that’s smoother than the other. It doesn’t matter if your cut is perfect. Turning pieces the wrong way can ruin the look.
Keep Offcuts Usable
Not every leftover piece is worth keeping. Still, the right-sized scrap can save a future project. Plan cuts so any extra has clean, square edges.
Small triangles or jagged shapes tend to end up as waste. A little adjustment in layout can turn them into workable rectangles instead.
Tools to Help Map Your Cuts
- Chalk or removable marker for direct marking on the panel.
- Painter’s tape to outline cut zones without leaving residue.
- Simple CAD or layout software for more complex projects.
- Templates made from cardboard or thin plywood to trace repeat shapes.
- Measuring guides or stop blocks for consistent cuts.
These tools keep you from having to remeasure the same lines over and over.
Mind the Blade Width
Every cut removes a thin strip of material called the kerf. Forgetting this can throw off your dimensions. Plan for it from the start.
For tight projects, measure from the same edge each time. This helps keep tolerances consistent and avoids a slow buildup of errors.
Stage the Work Area
Keep the cutting path clear before you start. Moving obstacles mid-cut can lead to mistakes or wasted sheets.
Set up supports so large panels don’t sag. Flexing while cutting can bind the blade or leave edges uneven.
Test with a Mock Layout
Lay the pieces out on top of the uncut sheet before making a single cut. This is a fast way to spot mistakes or see if something can be moved to save space.
Rotating a piece 90 degrees frees enough material to use for another part. Small tweaks add up quickly, so they can make a huge difference in waste reduction.
Plan for Safety
Cuts that require odd angles or awkward handling increase the risk of slips. Break them into smaller, safer sections.
Always wear eye protection and keep hands clear of the blade path. Good planning means fewer rushed or risky moves.
Track What Works
After the job, note how much material was left over and in what shapes. This can guide your planning for the next project.
If a certain layout saves more material, repeat it. Over time, you’ll have a mental library of patterns that make the most of each panel.
Make It Routine
Planning layouts doesn’t add much time once it becomes a habit. The savings in materials and cleanup make up for the minutes you spent doing measuring and sketching.
The more you do it, the easier it gets. Soon, seeing a sheet as a puzzle to solve will be second nature. Eventually, your scrap pile will be much smaller.