
Table of Contents
This is a collaborative post.
Diamond painting looks straightforward right up until you’re three hours deep, your canvas is curling at the edges, and the tray of pale-yellow gems you just had has vanished. Beginners tend to repeat a handful of very avoidable errors, and those errors hurt both the finished result and the fun of getting there. Knowing the five common diamond painting mistakes and how to avoid them before you even start gives your first completed piece a real shot at looking the way you pictured it.
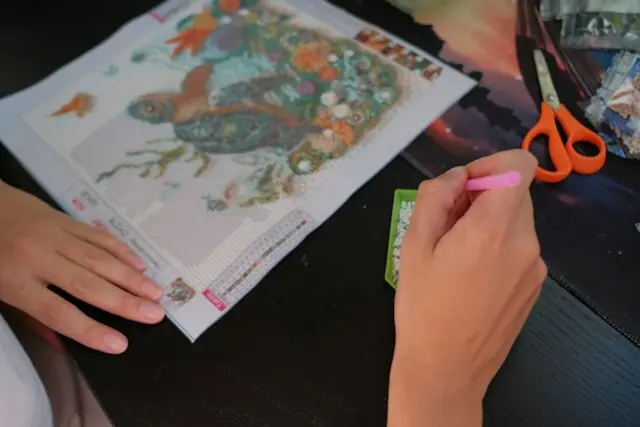
1. Starting with a Huge Diamond Painting Project
The biggest beginner error is ambition. A 60×80 cm canvas with thousands of colour codes looks spectacular on the box, and that’s exactly why it’s a bad first choice. Whether you choose a ready-made design or a personalized diamond painting made from your own photo, it’s best to start with a smaller canvas – something in the 20×30 cm range – so you can get comfortable with the applicator pen, the wax, and the rhythm of placing gems row by row before you commit to a project that takes weeks. Large canvases aren’t difficult in any technical sense, but they require a level of patience and consistency that’s hard to sustain when you’re still figuring out the basics. Finishing a smaller piece gives you a real sense of accomplishment, and that confidence carries into the next, larger project. Many people quit diamond painting entirely after struggling through an oversized first canvas. Don’t let the size of the design be the thing that puts you off a hobby you’d otherwise love.
2. Not Flattening Your Diamond Painting Canvas First
A canvas that ships rolled in a tube will arrive creased, and those creases matter far more than most newcomers expect. Working on an uneven surface means the canvas shifts beneath your hand as you place gems; they won’t sit flush, the adhesive on raised sections loses contact, and your rows end up misaligned once the canvas is stretched or framed. The fix is simple. Unroll your canvas the moment it arrives, lay it face-down on a clean, flat surface, and stack a few heavy books or a flat board on top for 24 to 48 hours. A warm iron passed briefly over the back – never the front – also works, but the weight method is safer and just as effective. Some people skip this because they’re impatient to begin; spending one day flattening the canvas, though, beats spending hours later pressing out gaps and bubbles that won’t budge once the adhesive has set around them.
3. Not Putting Your Diamonds Away
Leaving open trays and packets sitting on your work surface between sessions seems minor, but it genuinely causes problems. Diamonds are small, uniform, and easy to knock; one nudged tray sends dozens of gems skidding across the table, and if they mix with a different colour you’ll spend ages sorting under good light. Beyond the spill risk, exposed diamonds collect dust and pet hair, which stops them bonding cleanly to the canvas. The answer is resealable bags or a dedicated diamond painting storage box with labelled compartments, each colour code in its own section, everything sealed before you stand up at the end of a session. That’s also a good moment to count how many of each colour you have left so you don’t get caught short mid-section. Good organisation feels like extra effort at first, but it’s the single habit that separates a relaxed session from a chaotic one.
4. Rushing Through Your Diamond Painting Canvas
Diamond painting rewards slow, deliberate work. The temptation to work quickly – especially in large blocks of a single colour – often leads to misaligned rows that become obvious once you step back. A gem placed even half a square off its correct position can throw out the alignment of the surrounding area, and correcting it after the adhesive has gripped takes real effort. Work section by section, peeling back only a small area of the protective film at a time. Press each gem down fully before moving to the next one, and regularly hold the canvas at arm’s length to check that rows are straight. It’s also worth checking the symbol on the canvas against your colour chart before you pick up a full tray – mistaking a very similar symbol for the wrong code and placing thirty gems in the wrong spot is a dispiriting experience. There’s no time pressure with this hobby. A finished canvas that took three weeks looks exactly the same as one that took three months.
5. Uncovering Your Canvas While Working on It
The protective film covering the adhesive is there for a reason – it keeps the glue from drying out, gathering dust, and losing its grip. Peeling the whole thing back at once, or pulling back large sections well ahead of where you’re working, is one of the most frequent mistakes in diamond painting. Adhesive that sits exposed for hours starts to deteriorate, and gems placed on it later won’t bond securely; you’ll feel a slight looseness when you run your hand over a finished section, or find gems popping off during framing. Peel back only what you can cover in a single sitting – roughly a 5×5 cm section at a time is a solid rule. If you need to step away mid-session, lay a clean sheet of paper lightly over the exposed area to protect it. Keeping the adhesive fresh produces a noticeably stronger, cleaner result across the whole piece.
How to Avoid Each of These Mistakes
Most of these errors come down to preparation and patience, not skill. Flatten your canvas for a full day before you touch the adhesive, and pick a project size that honestly matches your current experience, don’t scale up too quickly. Get a proper storage system in place before you open your first diamond packet, and commit to sealing everything at the end of every session. Work slowly, peel back small sections of film as you go, and check your colour codes carefully before you place a full tray.
It also helps to have your workspace properly organised from the start:
- A bright daylight lamp or LED task light so colour codes are clearly visible
- A dedicated flat surface you don’t need to pack away mid-project
- A multi-compartment storage box labelled by colour code
- A small piece of white paper to cover exposed adhesive during breaks
- A ruler or straight edge to check row alignment every few sections
These small preparations make the whole experience more enjoyable and the finished piece considerably better.
The five common diamond painting mistakes and how to avoid them all follow the same pattern: they’re easy to make in the moment and time-consuming to fix afterwards. Starting too large, skipping the flattening step, leaving diamonds loose, working too fast, and exposing too much canvas at once are all habits you can drop before they become ingrained. Take your time, prepare your materials, and treat each session as a chance to practise the process – not just finish the picture. The result will show it.